What is NodeJS REPL?
NodeJS REPL, short for Read-Eval-Print Loop, is an interactive programming environment that allows developers to write JavaScript code, evaluate it, and see the results immediately. Think of it as a scratchpad for testing snippets of NodeJS code.
The REPL is especially handy when you’re experimenting with the language or testing out new features without the need to create a file. It provides a quick feedback loop, which makes it a great tool for beginners who are just getting comfortable with JavaScript or NodeJS.
Getting Started with NodeJS REPL
To start using NodeJS REPL, you first need to have NodeJS installed. If it’s not installed yet, you can follow the instructions on our installation guide for Windows, macOS, or Linux.
Once installed, you can launch the REPL by simply typing `node` in your terminal or command prompt. This opens up a console where you can start entering JavaScript commands instantly.
Navigating the REPL Environment
As you work in the REPL, you’ll notice a few key features: it supports multi-line input, auto-completion, and even some command history. These capabilities improve your efficiency and experimenting experience.
For instance, if you start typing a command and press the Tab key, it automatically suggests completions. This is particularly useful when you’re working with larger objects or methods and yourself unsure of the syntax.
Basic Commands in REPL
In the NodeJS REPL, you can perform a variety of basic tasks, including defining variables, creating functions, and executing expressions. You can easily print out values to check your output.
Here is a simple example of defining a variable and printing it out:
let greeting = 'Hello, World!';
console.log(greeting);
When you run this code, you’ll see `Hello, World!` printed out in the console. It’s a straightforward example, but it illustrates how quickly you can test simpler snippets of code.
Working with Multi-Line Code
Sometimes, you might want to test a piece of code that spans multiple lines, such as a function. The REPL allows you to do this as well, which is quite beneficial.
Here’s an example of a simple function definition in the REPL:
function add(a, b) {
  return a + b;
}
You can call this function right after defining it:
add(2, 3);
Running this will give you `5`, demonstrating how the REPL can handle functions just as easily as single-line commands.
Important REPL Features
The REPL has many useful features that make coding easier. One such feature is the ability to create modules directly within the environment.
This can be particularly helpful when working with third-party packages or APIs that you want to test without writing an entire script. You can require a module and start using it immediately:
const _ = require('lodash');
const array = [1, 2, 3, 4];
const reversed = _.reverse(array);
console.log(reversed);
In this case, `_.reverse()` is a method from the Lodash library that reverses an array. When you run this, it shows `[4, 3, 2, 1]` in the console.
Exiting the REPL
Exiting the REPL is straightforward. You can either hit `Ctrl + C` twice, or just type `.exit` and press Enter. This will terminate your REPL session and bring you back to your regular terminal prompt.
It’s a simple command, but knowing how to exit cleanly helps avoid confusion after you finish your testing.
Practical Use Cases of REPL
The REPL is not just a learning tool; it can be incredibly useful in real-world scenarios. For example, if a developer is working on a REST API and needs to test endpoint responses quickly, they can do that directly through the REPL.
Consider a situation where you need to check if a specific API call returns what you expect. You can easily write your fetch code inside the REPL, check the outputs, and even tweak it on the fly. This speeds up your development workflow significantly.
Debugging with the REPL
Debugging JavaScript code can sometimes feel daunting. However, the REPL offers a convenient way to trace and debug your code snippets. When you encounter an error, you can refine your approach step by step.
For instance, if you’re unsure why a function isn’t returning the expected value, you can isolate the function within the REPL and test it with various inputs. This trial-and-error method can be much more efficient than running an entire application.
Limitations of NodeJS REPL
While the REPL is a powerful tool for testing and learning, it does come with some limitations. For example, it lacks full support for certain NodeJS file system operations. This means that while you can run certain commands, you won’t be able to interact with files as you would in a regular script.
Additionally, sessions in the REPL are not persistent once exited. This means that any defined variables and functions are lost when you close the REPL, so be sure to document important work.
Conclusion: The Importance of NodeJS REPL
In conclusion, the NodeJS REPL is an essential tool for both newcomers and seasoned developers. It fosters an interactive environment that boosts coding efficiency while allowing immediate feedback. Learning how to effectively utilize the REPL opens up opportunities for better coding practices and quicker troubleshooting.
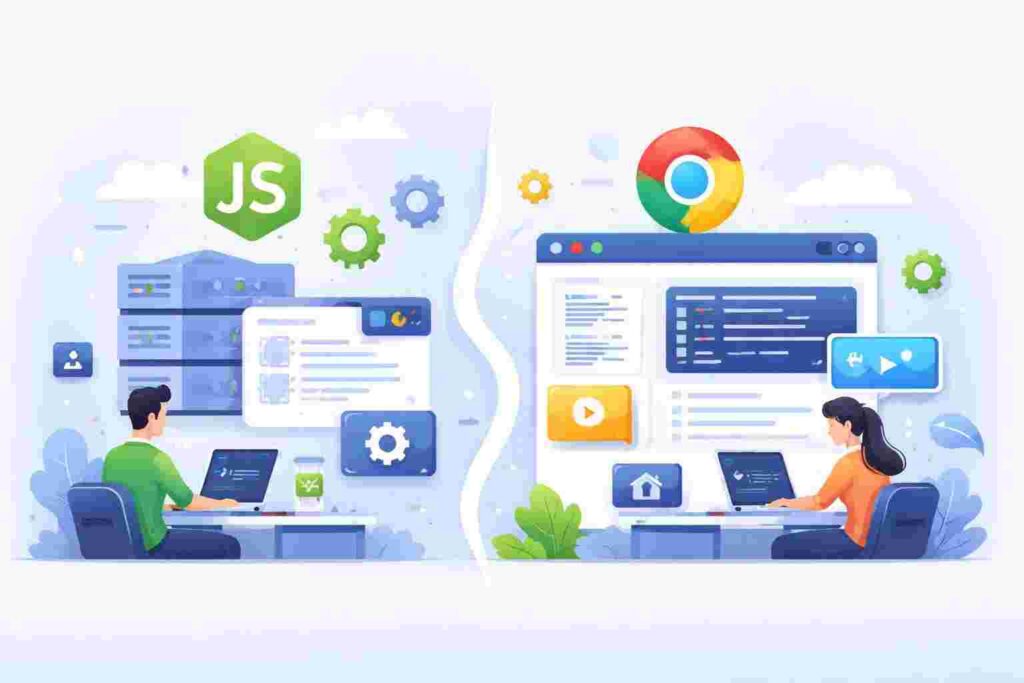
As you continue to explore NodeJS, you might be interested in deeper concepts such as the architecture of NodeJS or how it compares with other technologies through articles such as NodeJS vs. Browser JavaScript.
FAQs about NodeJS REPL
- What does REPL stand for? REPL stands for Read-Eval-Print Loop, which is a programming environment that processes user inputs.
- Can I save my work in the REPL? No, any work done in the REPL is temporary and will be lost once you exit the session.
- Is NodeJS REPL the same as a web browser console? While they serve similar purposes of executing code, the NodeJS REPL operates in a Node environment, making it suitable for server-side JavaScript.
- Can I use packages in the REPL? Yes, you can require and use packages in the REPL as long as they are installed in your NodeJS environment.
- Why should I use the REPL? The REPL offers a quick and easy way to test snippets of code, experiment with JavaScript features, and debug code effectively.